

Undoing changes and restoring previous versions in Elementor follows a structured process that helps you recover edits without losing your page design. Instead of manually rebuilding deleted sections or trying to remember earlier settings, the process focuses on using Elementor’s built-in history and revision tools to safely recover previous changes.
With the right approach, you can reverse mistakes, restore earlier versions, and continue editing without starting over.
Why Undo and Revision Features Matter
Elementor’s undo and revision tools let you reverse mistakes without rebuilding your page. Mistakes can happen during design updates, especially when moving sections, changing styles, or accidentally deleting content. Without a recovery option, even small errors could require rebuilding parts of the page from scratch, even when your WordPress hosting environment is functioning properly.
Using Elementor’s history features lets you reverse recent edits and return to a more stable, more organized version of the page, or restore earlier saved versions when needed. When used regularly, these tools make editing in Elementor more flexible, accurate, and much less stressful.
Step 1: Open the Elementor Editor
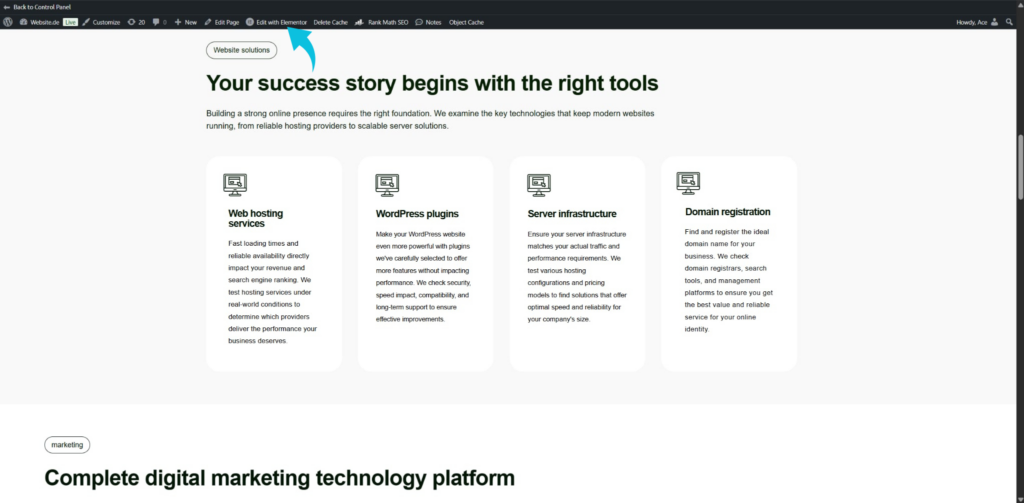
Start by opening the page or post you want to edit inside Elementor. Once inside the editor, make sure the Elementor sidebar and bottom toolbar are fully visible. The history controls used for undoing changes and restoring revisions are located within this editor interface.
Working directly in Elementor ensures the system can properly track your editing actions. Before making changes, it also helps to confirm that the page has fully loaded so that all editing history features work correctly.
Step 2: Use Keyboard Shortcuts to Undo Recent Changes
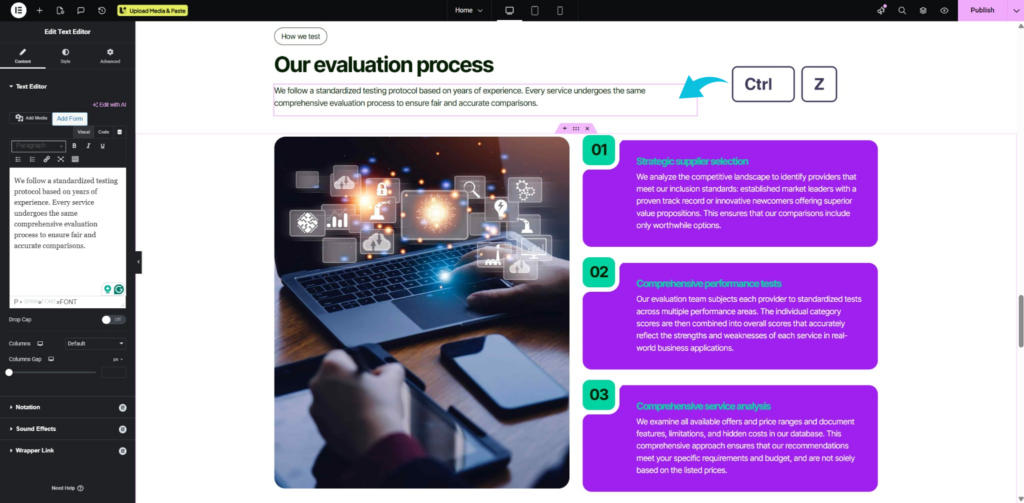
The fastest way to undo a recent edit in Elementor is by using keyboard shortcuts. Press Ctrl + Z on Windows or Command + Z on Mac to reverse the most recent action. If you accidentally undo something important, you can restore it immediately using Ctrl + Shift + Z (Windows) or Command + Shift + Z (Mac).
This method works well for quick fixes while actively editing a page. It allows you to move backward and forward through recent changes without opening additional settings panels.
Step 3: Open the Elementor History Panel
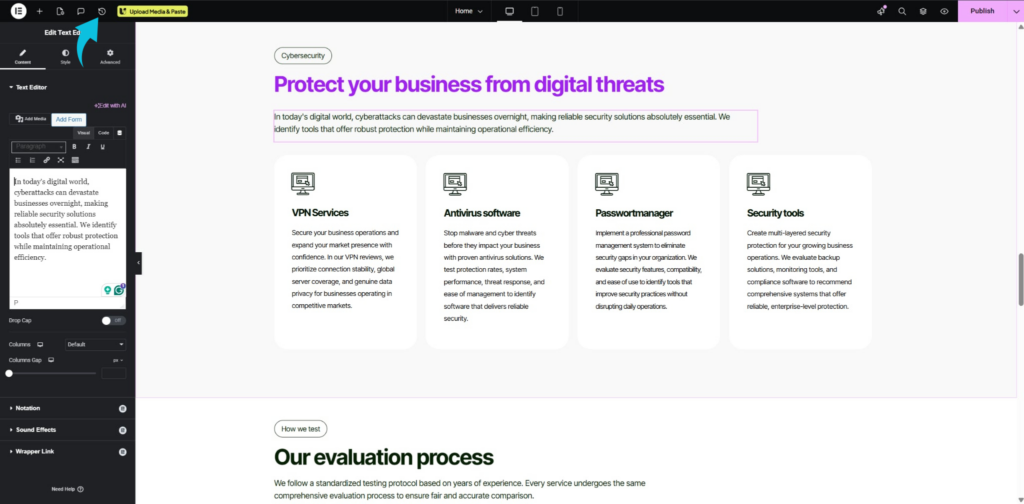
To access more detailed editing history, click the History icon located at the bottom of the Elementor sidebar. This opens a panel with two tabs: Actions and Revisions. The Actions tab tracks edits made during the current editing session, while Revisions stores previously saved versions of the page.
Opening this panel gives you more control over how changes are restored. It is especially useful when you need to undo multiple edits rather than reversing them one at a time.
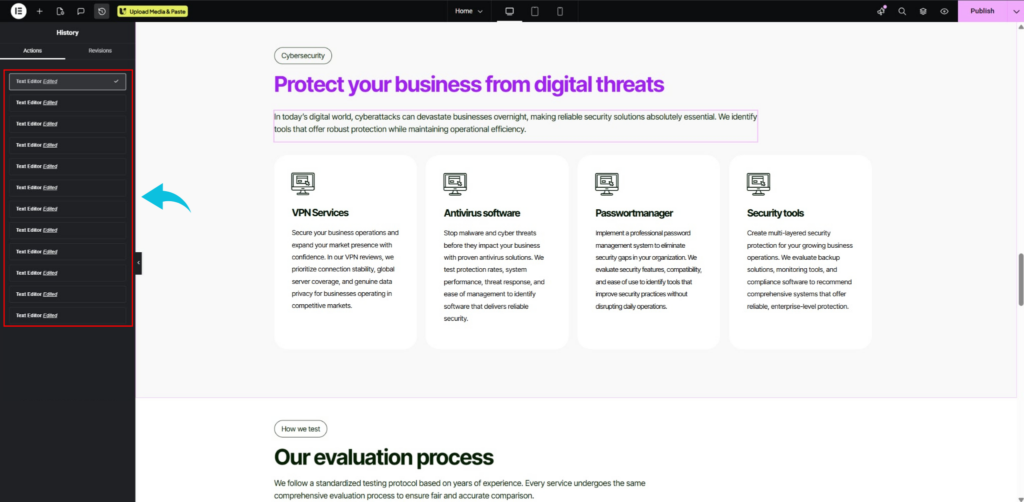
Step 4: Restore Changes Using the Actions Tab
Inside the Actions tab, Elementor displays a timeline of recent edits performed during the current session. Each action is listed separately, making it easier to identify changes that affect your site’s personalized look, such as adding widgets, editing text, or adjusting layouts. Clicking on an earlier action instantly restores the page to that point in the editing process.
This method works best when correcting mistakes made during your active editing session. Since it tracks changes in sequence, it provides a more organized way to reverse recent work.
Step 5: Restore Previous Versions Using the Revisions Tab
If the issue goes beyond recent edits, switch to the Revisions tab inside the History panel. Elementor automatically saves revisions whenever the page is updated or published, allowing you to restore older versions later. Select the revision you want to recover, then apply it to restore the page content and layout from that saved point.
This feature is useful when major changes need to be reversed completely. It also provides a safer way to recover content that may have been deleted or overwritten earlier.

Step 6: Review and Save the Restored Version
After restoring actions or revisions, review the page carefully to confirm everything appears correctly. Check layouts, text, images, spacing, and styling to ensure the restored version matches your expectations. Once satisfied, click Update or Publish to permanently save the restored version.
Saving the page finalizes the recovery and preserves the restored version. This final check also helps catch any small formatting issues before the page goes live.
Conclusion
Undoing changes and restoring previous versions in Elementor gives you a reliable way to recover edits when mistakes affect your page layout or content. Instead of manually rebuilding sections or trying to remember earlier settings, you can use Elementor’s built-in history and revision tools to restore previous changes while keeping your workflow organized.
The process is simple, and even small recovery actions can help prevent unnecessary rebuilding work. Knowing when to use Actions vs. Revisions helps you recover edits faster. With the right approach, you can keep your editing workflow smoother while reducing the risk of permanent mistakes.