

How to install OpenClaw on VPS
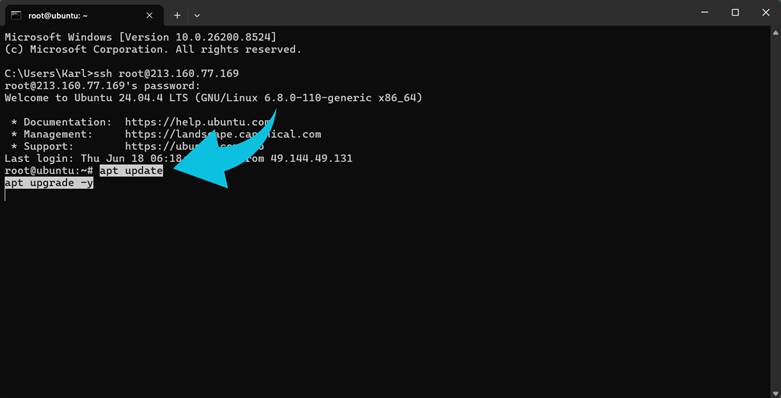
Step 1: Connect to Your VPS
From your local computer, connect to your server via SSH:
ssh root@YOUR_SERVER_IP
Replace YOUR_SERVER_IP with your VPS public IP address.
Step 2: Update Your Server
Update the package list and install available updates:
apt update
apt upgrade -y
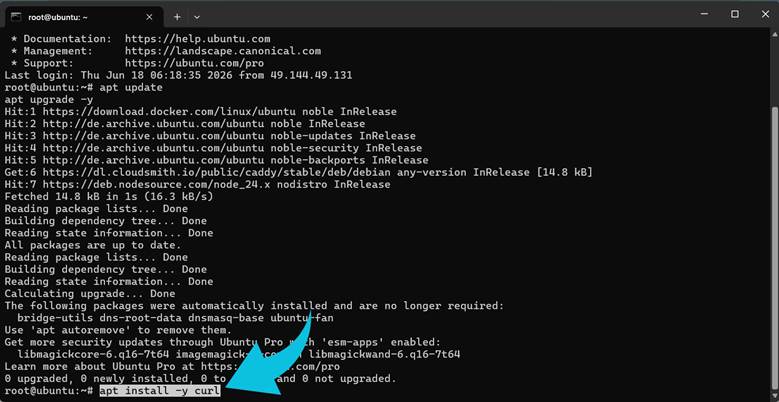
Step 3: Install Required Packages
Install curl if it is not already available:
apt install -y curl
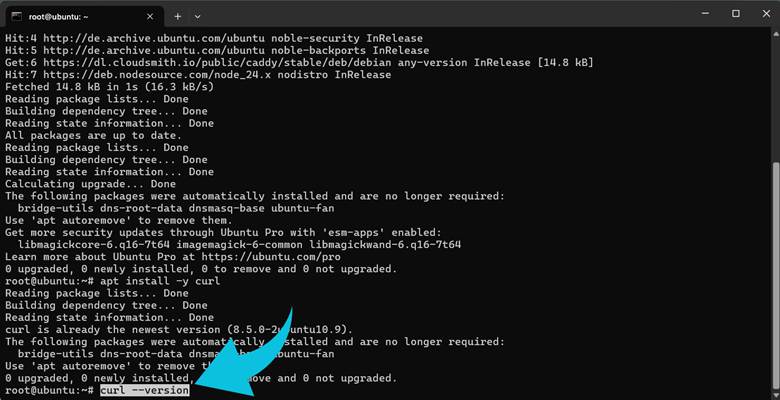
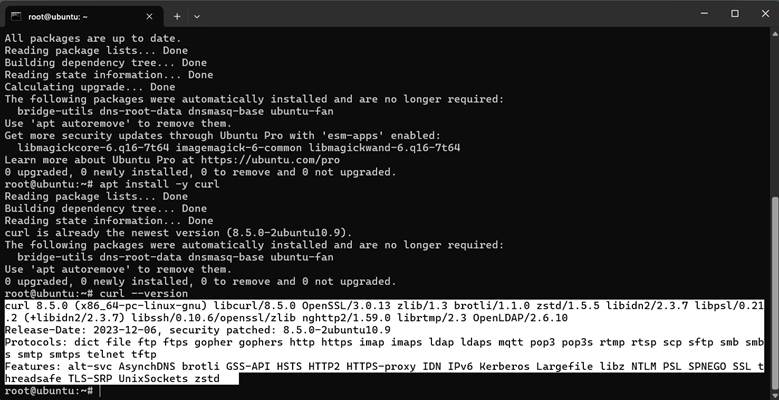
Verify the installation:
curl --version
Step 4: Install OpenClaw
Run the official installation script:
curl -fsSL https://openclaw.ai/install.sh | bash
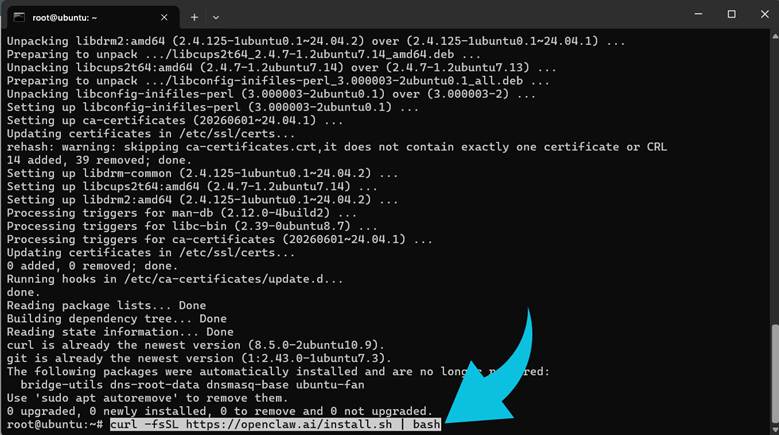
The installer downloads OpenClaw and automatically launches the initial setup and onboarding process.
During onboarding:
● Configure your preferred AI model

● Create your workspace
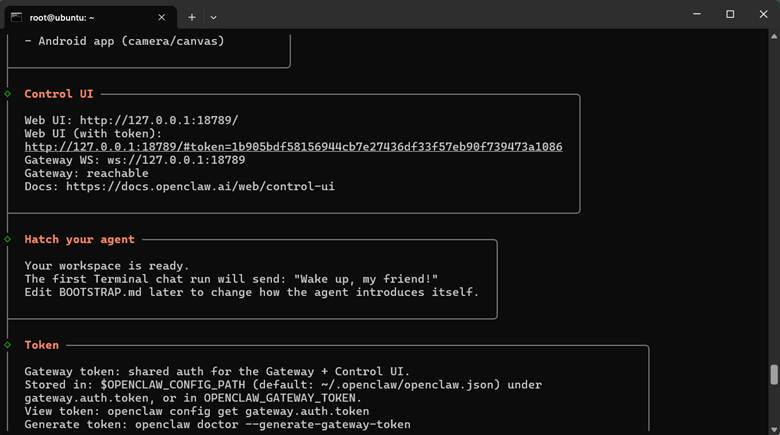
● Allow OpenClaw to install and start the Gateway service
Follow the on-screen prompts until the installation is complete. When it's complete, launch the terminal interface, and you can send a simple message:
Hello
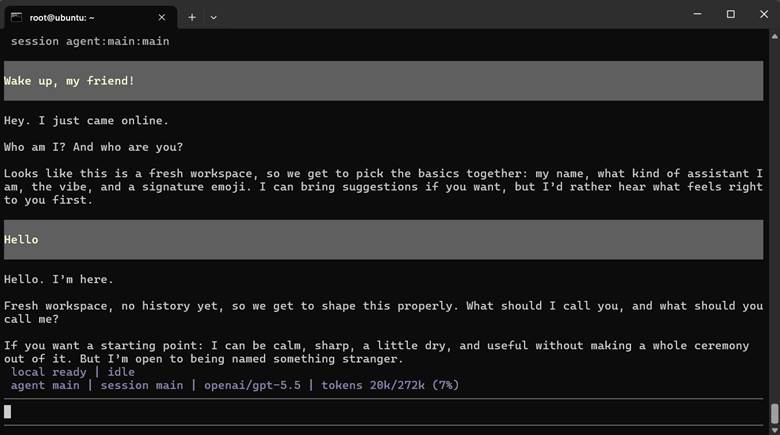
If the assistant responds successfully, OpenClaw is working correctly.
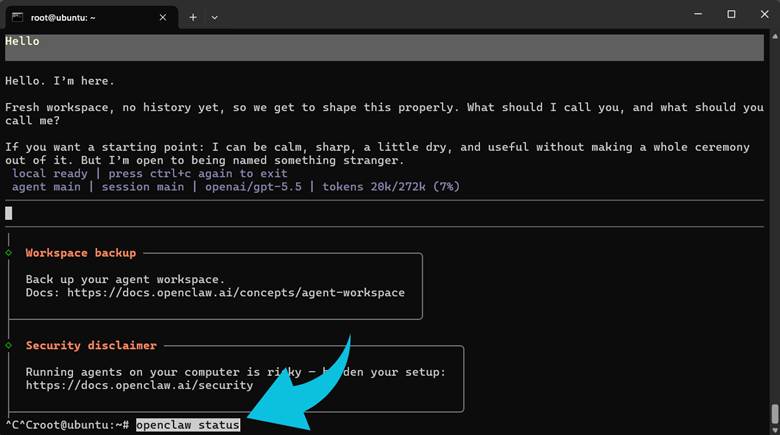
Step 5: Verify the Installation
After onboarding finishes, verify that OpenClaw is running correctly:
openclaw status
Step 6: Access the OpenClaw Dashboard from Your Computer
Because the gateway listens only on localhost by default, create an SSH tunnel from your local computer.
On Windows, macOS, or Linux:
ssh -N -L 18789:127.0.0.1:18789 root@YOUR_SERVER_IP
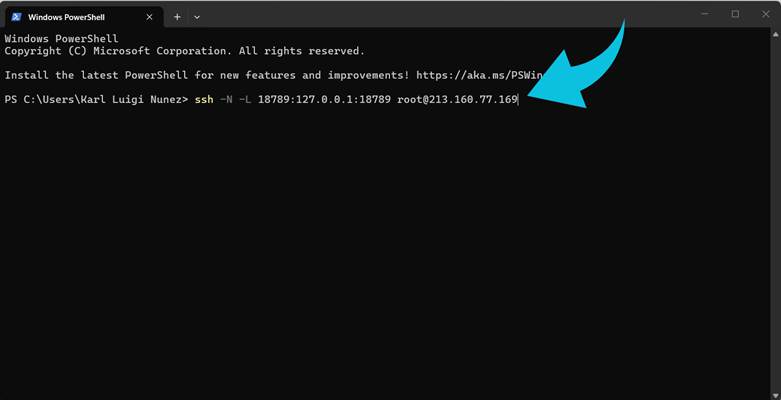
Keep this terminal window open.
Open your browser and visit:
http://localhost:18789
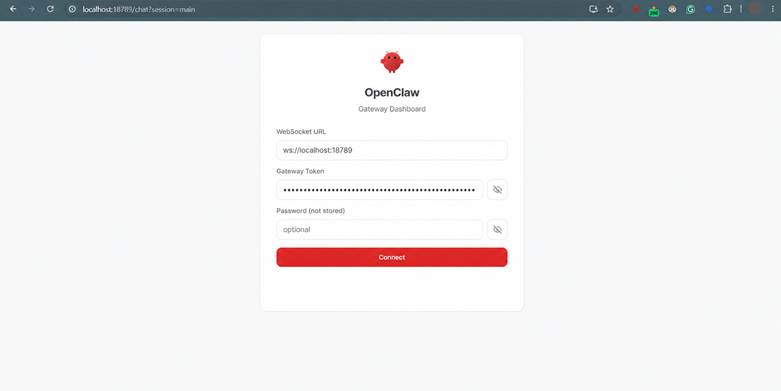
You should see the OpenClaw Gateway Dashboard.
Once connected, you can begin interacting with your OpenClaw workspace through the web interface. From the dashboard, you can manage agents, view conversations, monitor gateway activity, configure integrations, and access your OpenClaw environment in a browser rather than the terminal.
Common OpenClaw Installation Issues and Fixes
Error: E: The update command takes no arguments
This error typically occurs when multiple commands are pasted onto a single line.
Incorrect:
apt update apt install -y curl
Correct:
apt update
apt install -y curl
Run each command separately to avoid syntax errors.
Error: Missing config. Run openclaw setup
You may see the following message when starting OpenClaw:
Missing config. Run `openclaw setup.`
This usually means the required configuration files and workspace directories have not been created.
To initialize the configuration manually, run:
openclaw setup
After the setup completes, restart OpenClaw and verify that the gateway is running correctly.
Error: Gateway Scope Upgrade Approval Required
In some cases, OpenClaw may report that a device is requesting additional permissions.
Check the status:
openclaw status --deep
If a scope upgrade is pending, approve the request:
openclaw devices approve --latest
Once approved, restart the gateway:
openclaw gateway restart
Error: Dashboard Loads but Cannot Connect
If the OpenClaw dashboard opens but remains unable to connect to the gateway, first verify that the gateway is running:
openclaw gateway status
Then check the logs:
openclaw logs --follow
Review any authentication, device, or connection errors reported in the logs.
Error: SSH Tunnel Not Working
If you cannot access the dashboard from your local computer, verify that the SSH tunnel is active:
ssh -N -L 18789:127.0.0.1:18789 root@YOUR_SERVER_IP
Then test the connection locally:
curl http://localhost:18789/healthz
Expected output:
{"ok":true,"status":"live"}
If the endpoint responds successfully, the SSH tunnel and gateway are functioning correctly.
No comments to display
No comments to display